はじめに#
PrometheusとGrafana、Loki、Cloudflare Tunnel構成で外からでも家の仮想サーバなどのメトリクスの監視はできていたものの、New Relicは月100GBまで無料で使えるときいたので試してみた。
結果からいえば有料SaaSなだけあってインストールも簡単でとても体験がよかった。自分が使う範囲内であれば月100GB以内に収まりそうなので、Prometheusを中心としたメトリクス収集は縮小してメインをNew Relicに切り替えることにした。
インフラストラクチャのモニタリング#
New Relicのアカウントを作成後(無料プランならクレジットカードの登録すら不要!)に以下のページにも記載されているようにガイド付きのインストールを実行すればよい。
Get started with infrastructure monitoring
UbuntuなどのLinuxであればコマンド1行で、メトリクス収集とログ収集のエージェントをインストールしてくれる。めっちゃ便利
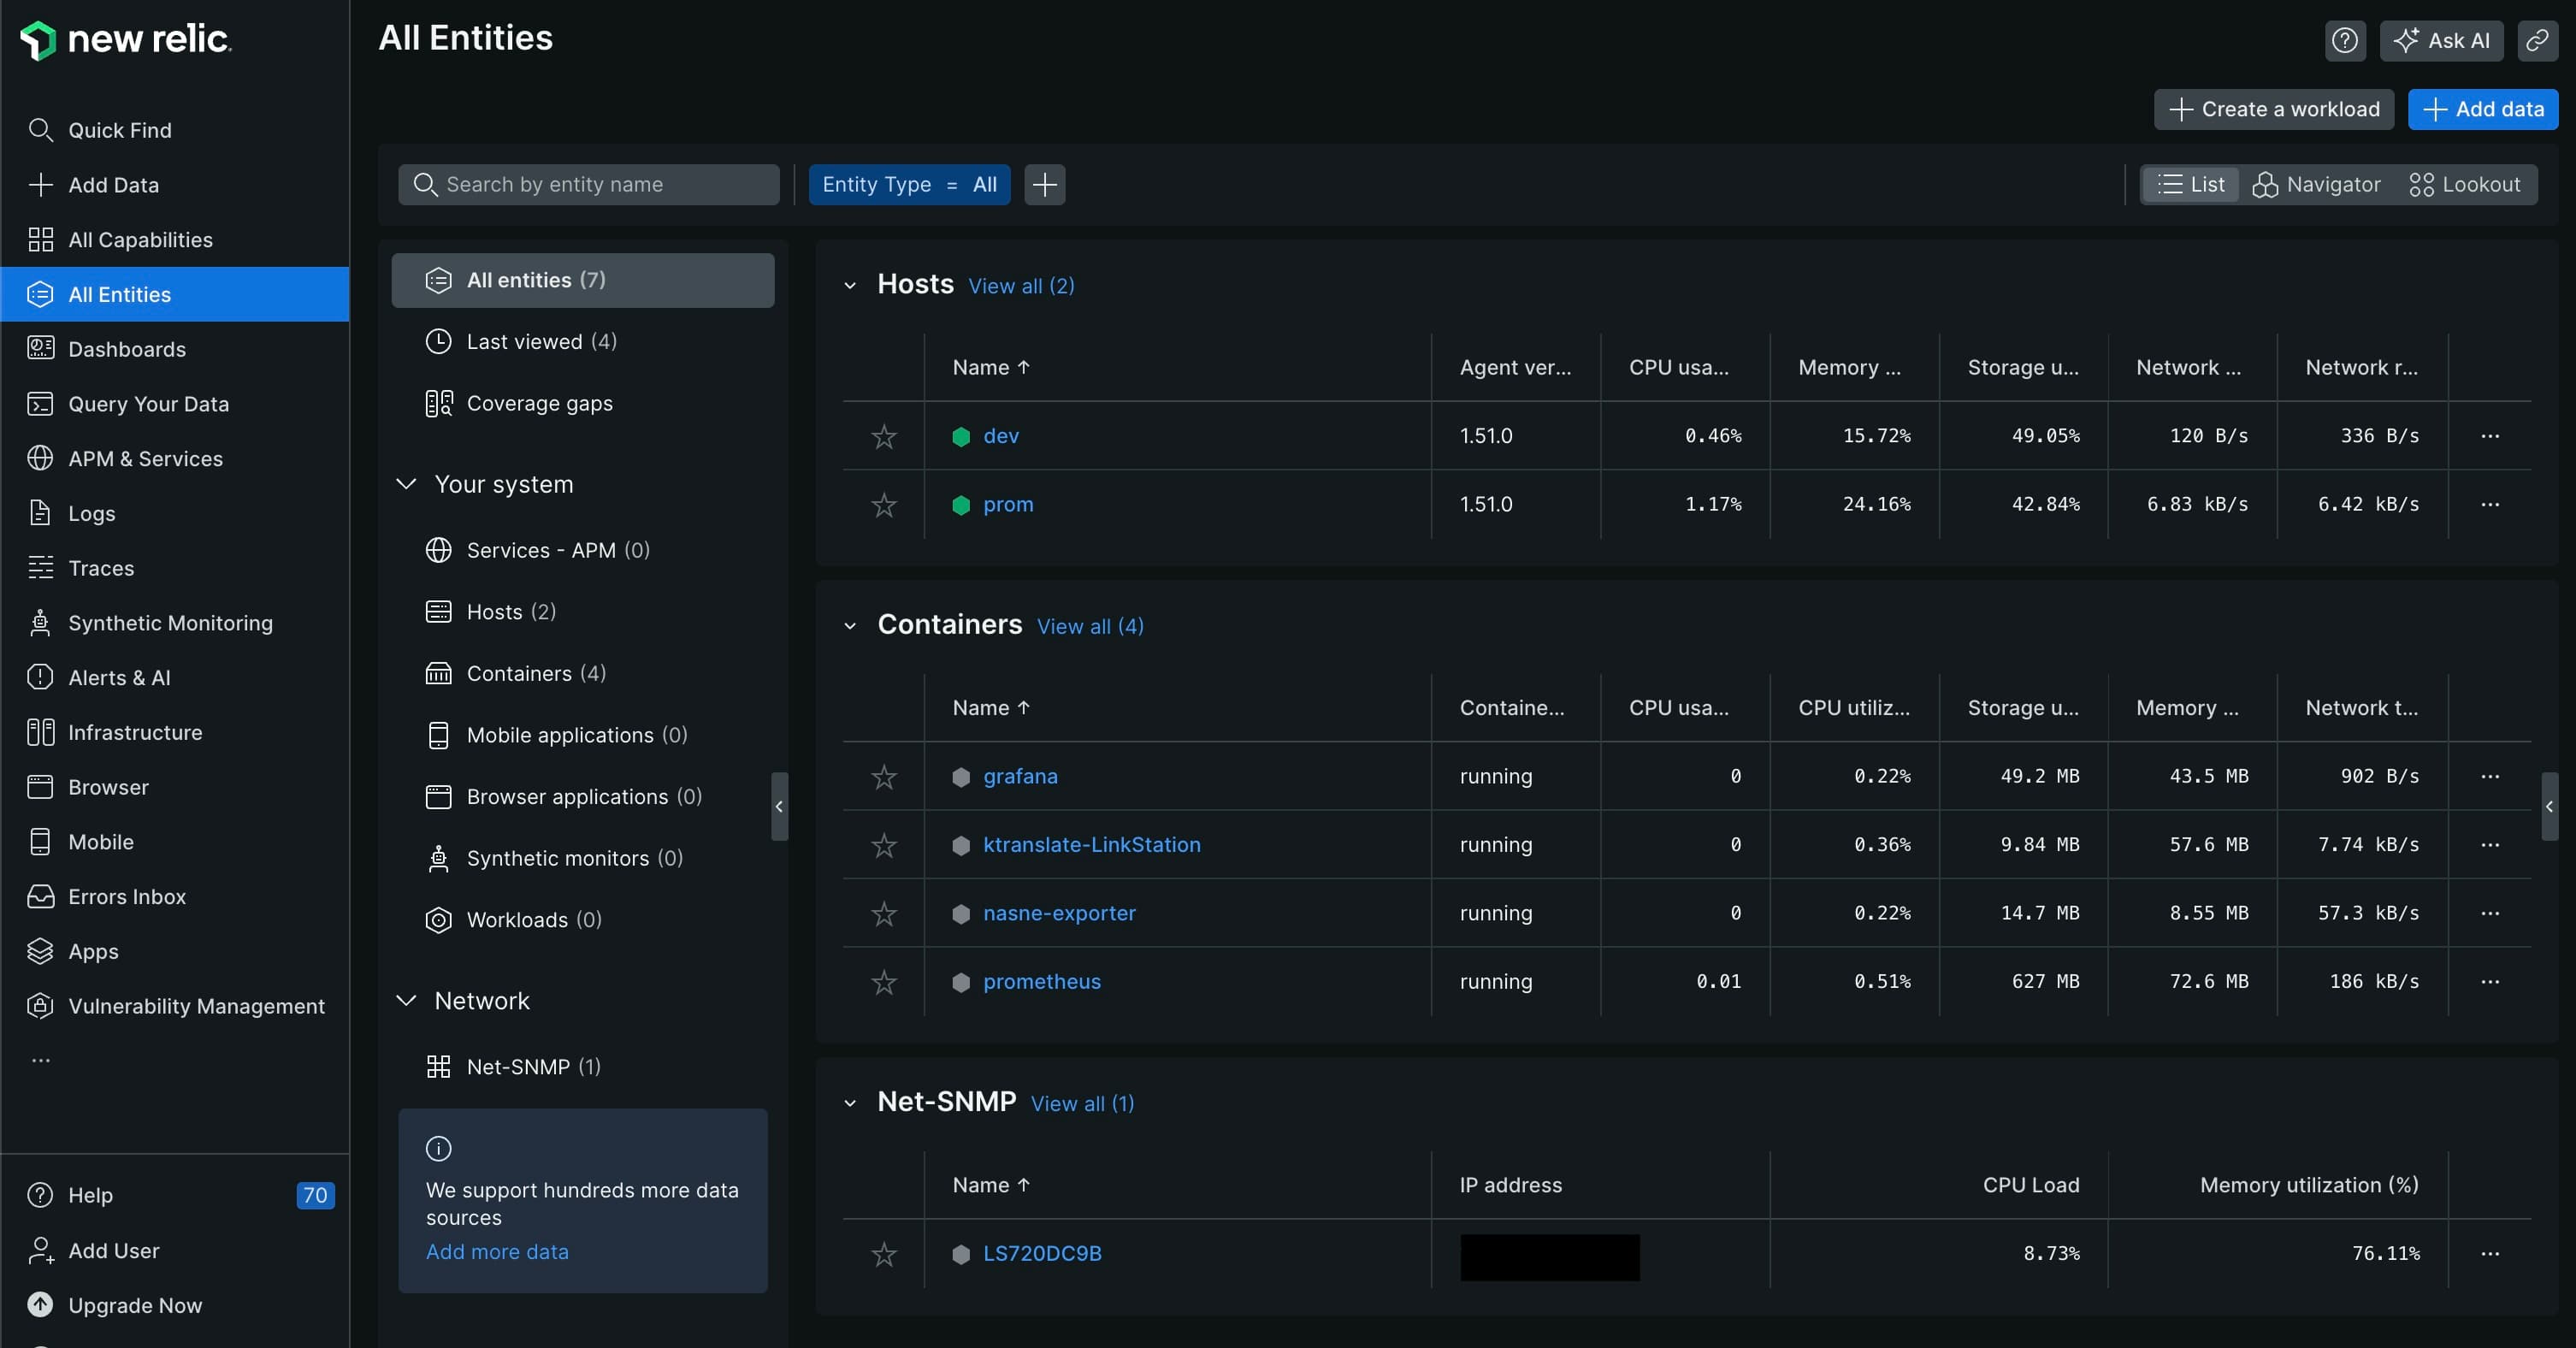
これだけでホストOS、実行されているコンテナ情報なんかもみれちゃう。
1
| curl -Ls https://download.newrelic.com/install/newrelic-cli/scripts/install.sh | bash && sudo NEW_RELIC_API_KEY=<API_KEY> NEW_RELIC_ACCOUNT_ID=<ACCOUNT_ID> /usr/local/bin/newrelic install
|

SNMPデータ監視#
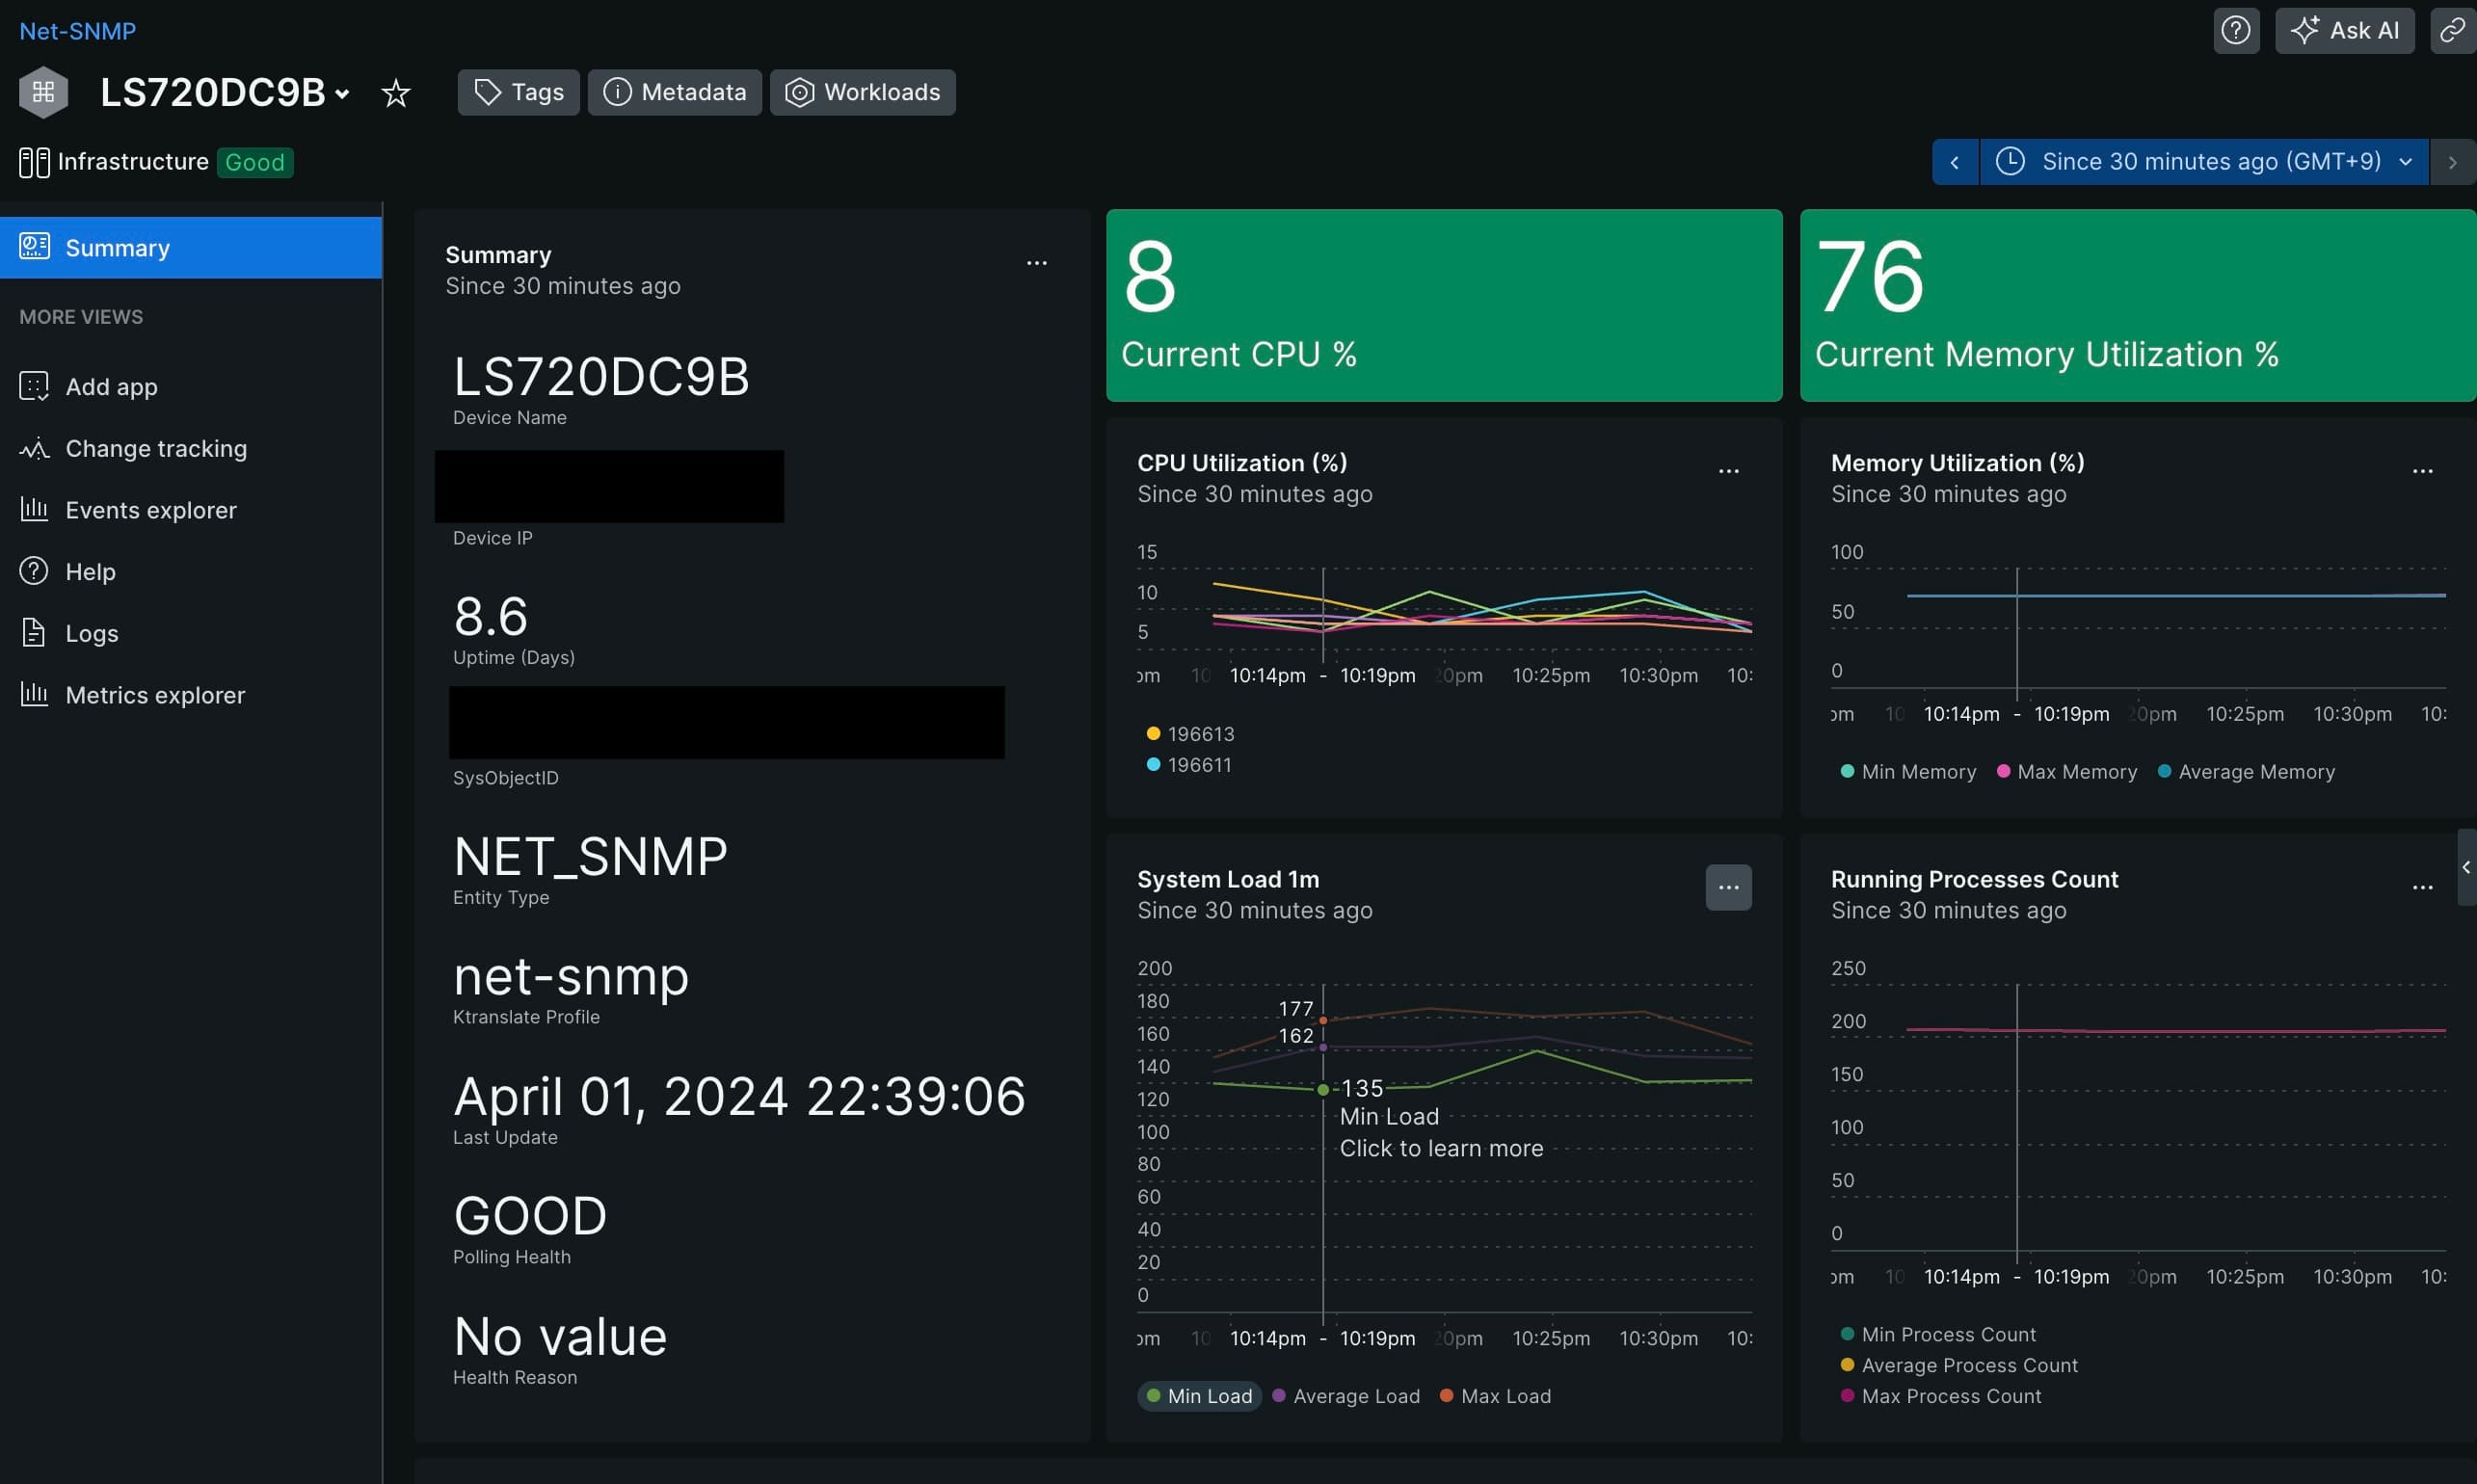
SNMPについてもサーバ等でコンテナを起動するだけで、自動的にMIBを使っていい感じにメトリクス収集してくれる。
Prometheusの場合はGeneratorでymlファイルを作成する必要があったが、不要なのでとてもいい。exporterでは取れないと思っていたメトリクスまで収集できていた。
Set up SNMP data monitoring
linkstationの例
1
| docker run -d --name ktranslate-LinkStation --restart unless-stopped --pull=always -p 162:1620/udp -v `pwd`/snmp-base.yaml:/snmp-base.yaml -e NEW_RELIC_API_KEY=<API_KEY> kentik/ktranslate:v2 -snmp /snmp-base.yaml -nr_account_id=<ACCOUNT_ID> -metrics=jchf -tee_logs=true -service_name=LinkStation -snmp_discovery_on_start=true -snmp_discovery_min=180 nr1.snmp
|

脆弱性情報#
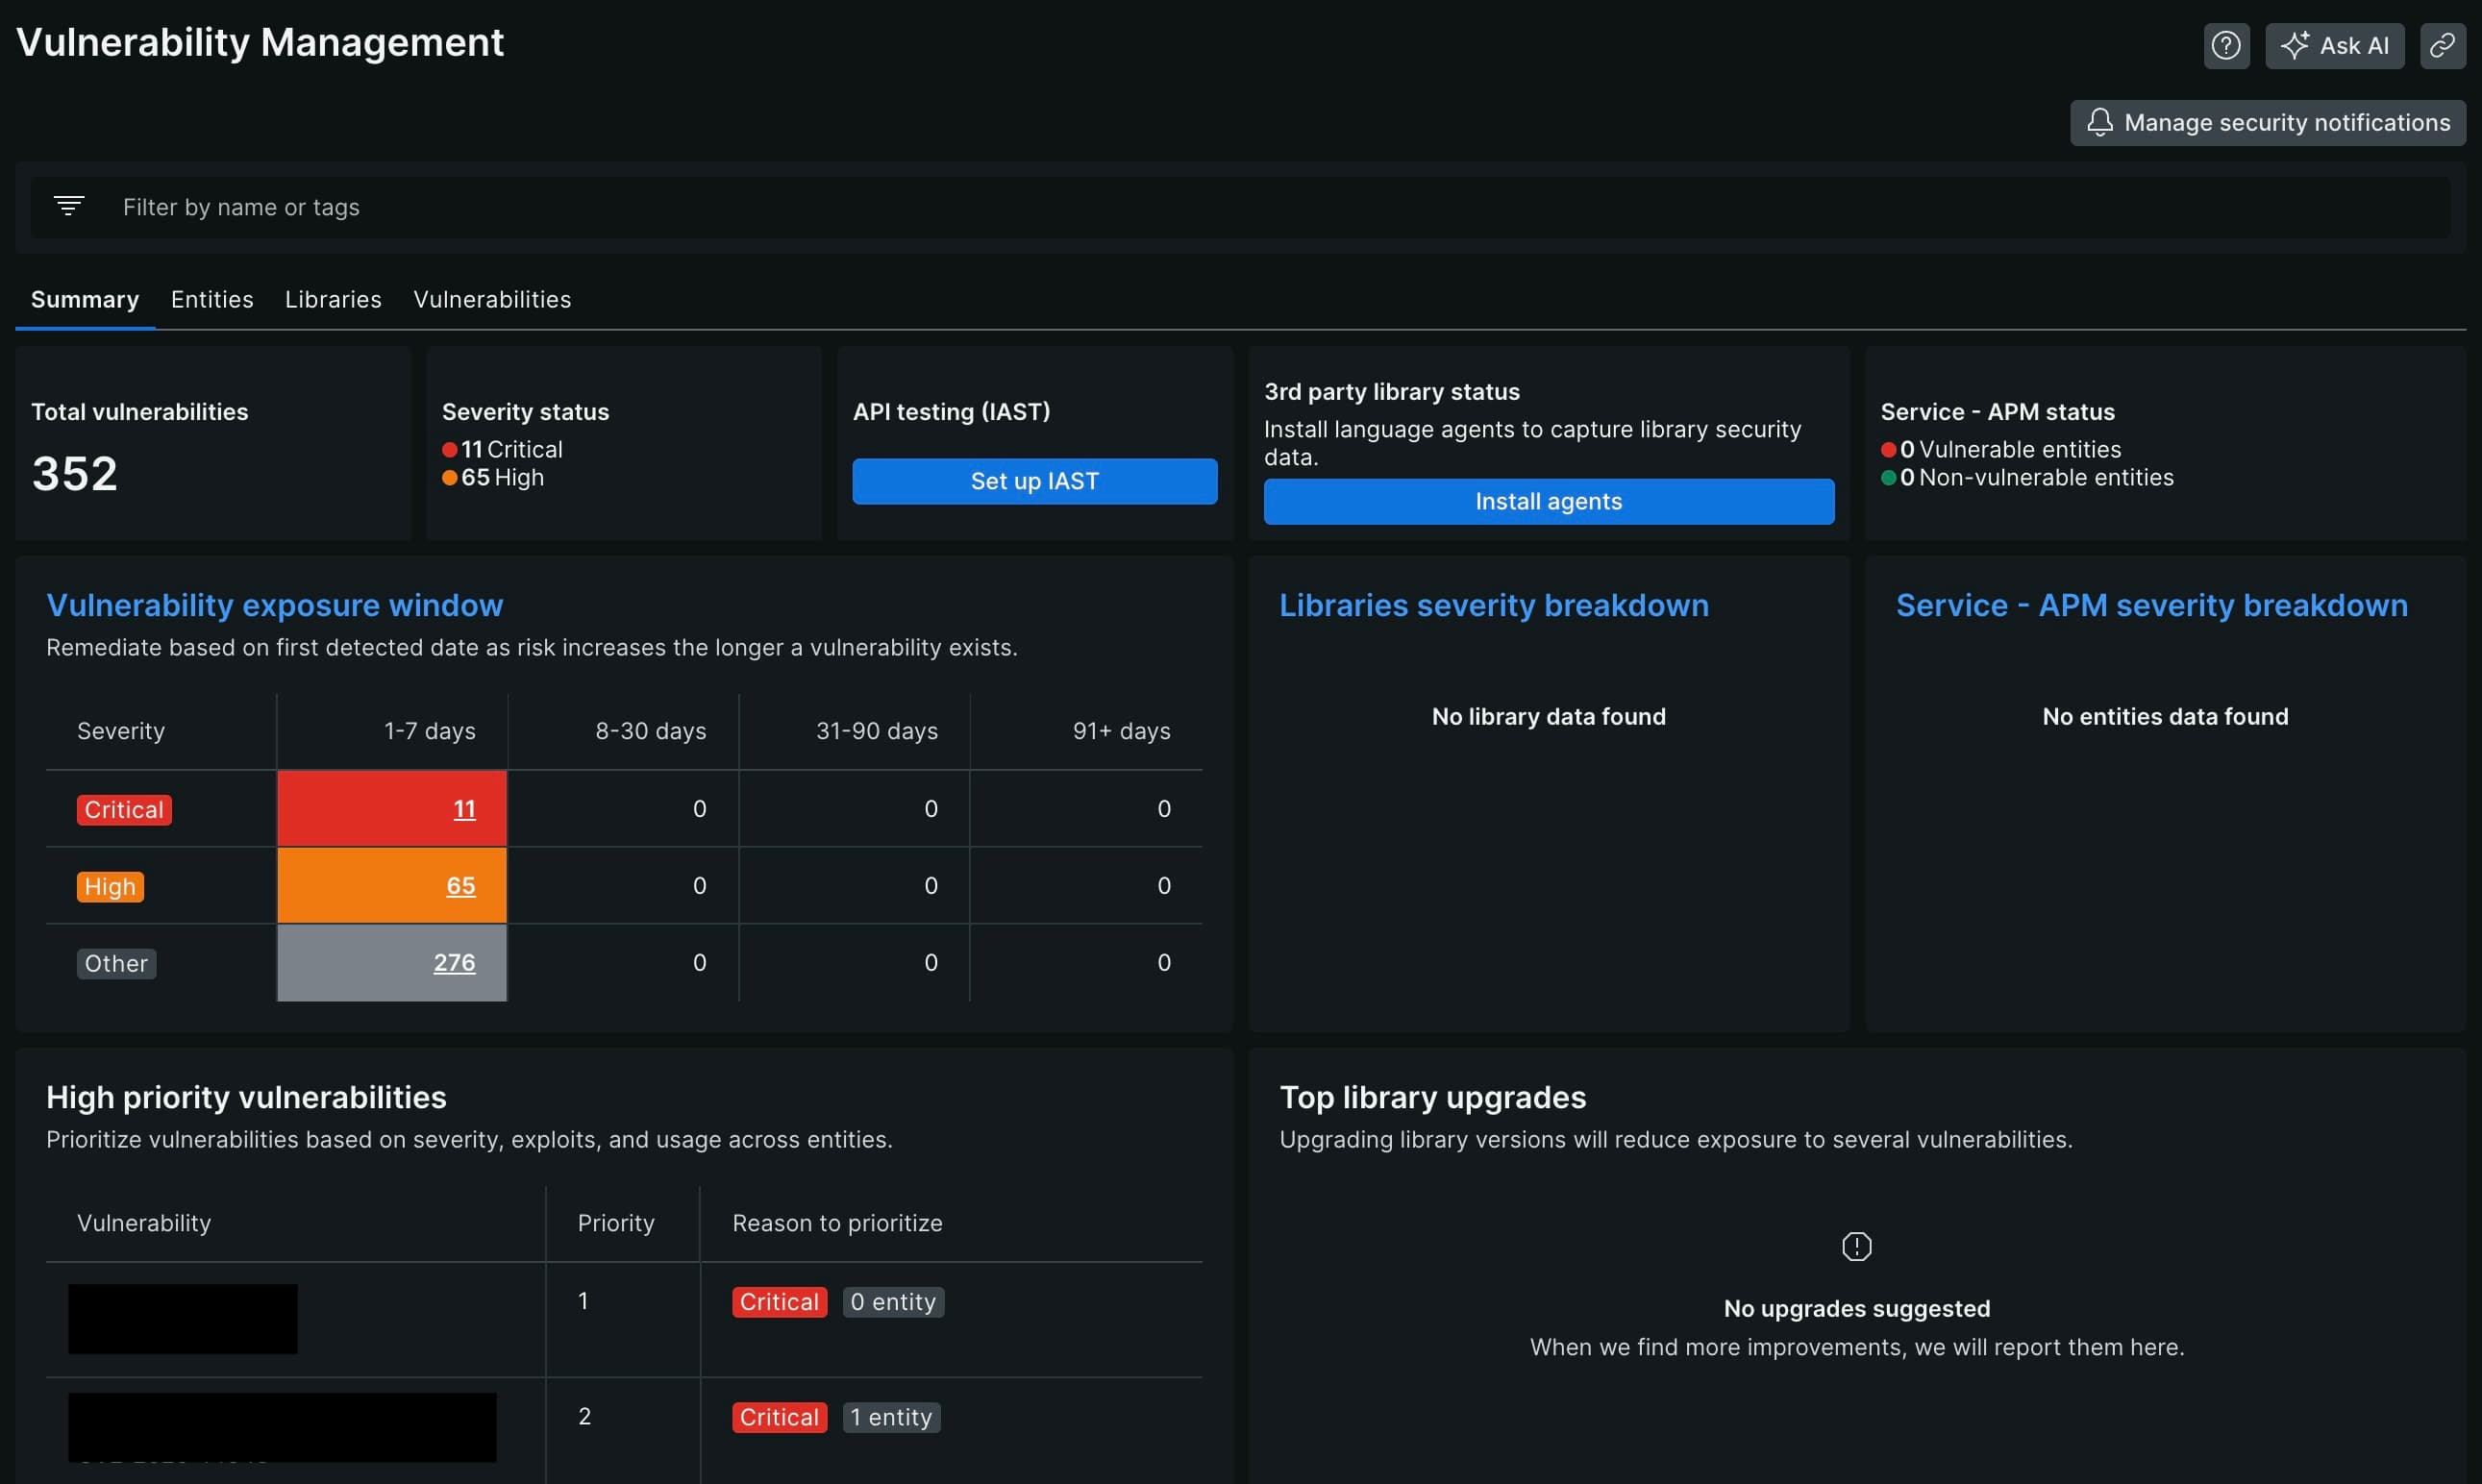
PrometheusのときにはVulsを使用してスキャンをしていたが、New RelicはTrivyのスキャン結果の統合が可能で、trivy rootfs / にてホストOSのスキャンを行ってNew Relicに送信している。Vulsと比べてスキャン速度もストレージ消費量も軽量でとてもいい感じ
Trivy security integration
cronにて定期実行させたいので一連の処理をスクリプトにした。
ホストOSをスキャンして結果を送信するスクリプトはこんな感じ
 1
 2
 3
 4
 5
 6
 7
 8
 9
10
11
12
13
14
15
16
17
18
| #!/bin/bash
# Description: Post Trivy scan script for New Relic
echo "Starting scan..."
API_KEY=""
host=$(hostname)
echo "Host name : $host"
SHELL_DIR=$(cd $(dirname $0) && pwd)
trivy rootfs / --severity CRITICAL,HIGH --scanners vuln --format sarif -o ${SHELL_DIR}/scan_report/${host}-sarif.json
curl --location --request POST "https://security-api.newrelic.com/security/v1?repository=${host}" \
--header "Api-Key: ${API_KEY}" \
--header 'Content-Type: application/json' \
--header 'X-Scanner: Trivy' \
-d @${SHELL_DIR}/scan_report/${host}-sarif.json
echo "Scan completed."
|
コンテナイメージの場合
 1
 2
 3
 4
 5
 6
 7
 8
 9
10
11
12
13
14
15
16
17
18
19
20
21
22
23
24
25
26
27
| #!/bin/bash
# Description: Post Trivy scan script for New Relic
API_KEY=""
SHELL_DIR=$(cd $(dirname $0) && pwd)
images=(
"prom/prometheus:latest"
"grafana/grafana:latest"
)
echo "Starting scan..."
for image in ${images[@]}; do
echo "Current image: $image"
image_repo=${image##*/}
image_name=${image_repo%%:*}
trivy image $image --severity CRITICAL,HIGH --scanners vuln --format sarif -o ${SHELL_DIR}/scan_report/${image_name}-sarif.json
curl --location --request POST "https://security-api.newrelic.com/security/v1?repository=${image_repo}" \
--header "Api-Key: ${API_KEY}" \
--header 'Content-Type: application/json' \
--header 'X-Scanner: Trivy' \
-d @${SHELL_DIR}/scan_report/${image_name}-sarif.json
done
echo "Scan completed."
|

できなかったこと#
New Relicのagentがないものについては引き続き自宅ネットワークにあるPrometheusとexporterにてメトリクスを収集して、Prometheusリモート書込みインテグレーションを使用してNew Relicにメトリクス情報を送信している
Prometheus.ymlに以下のように設定するだけ
1
2
3
4
| remote_write:
- url: https://metric-api.newrelic.com/prometheus/v1/write?prometheus_server=<servername>
authorization:
credentials: <credentials>
|
Prometheus側で収集しているメトリクスは以下
おわりに#
試用期間もないっぽいので、1人しか管理者がおらず100GB/月であればNew Relicを使うのがよさそうではある。
もちろん、PrometheusやGrafana、LokiなどのOSSをまずは使ってみることでメトリクス・ログ収集の基礎を学ぶことは大事だし、New Relicでは取得できないメトリクスは引き続きPrometheusで収集しつづけるしかない。


